Restoring the Pye EK106 Telegraph Key
OR…. ‘ CONFESSIONS OF A JUNKEY’!!
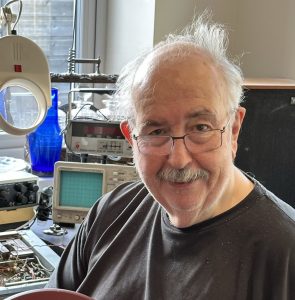
Chris in his workshop
My name is Chris G0EYO and I am an addict!
My problem is fairly recent, but I have to say I never saw it coming.
It started with a desire, after holding an amateur licence for 40 years, to try and master CW, having enjoyed SSB and FT8. My inspiration was fellow club member and Chairman, John M6KET. His dedication to amateur radio using only CW and QRP powers, kept reminding me of the true origins of this great hobby of ours.
I had learnt to receive morse some 60 years ago having been a trainee GCHQ Intercept Operator at Bletchley Park, but was never required to send it. With John’s help and encouragement, I slowly picked up my sending speed, first with an ordinary Hi-Mound straight key and then with an old Kenpro Electronic paddle.
I bought a vintage Japanese Ameko K-4 telegraph key from a club member’s SK sale and I sold the Hi Mound to John M6KET.
Then in February 2024 I saw a collection of morse keys for sale in a Midlands auction and bid on and won those. Amongst them was a couple of lovely Kent Heavy brass straight keys and a rather battered Vibroplex Champion, which I restored. But, even then, I wasn’t satisfied.
I saw another lot morse keys in a recent auction in Newcastle which included a rather nice Marconi NATO morse key and several other interesting keys. I bid on those and won them. Amongst the lot was a rather plain, GPO type, telegraph key made by W.G. Pye of Cambridge.
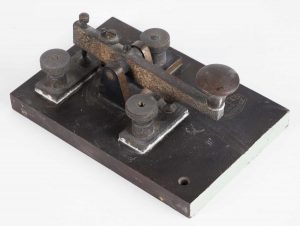
The EK106 before Chris got to work (and pictured below left))
It was very tarnished and in need of some TLC. I did a bit of research and discovered that these keys could be quite rare, but of good quality, being solid brass on a Bakelite base. It has a serial number of EK106. Others with similar serial numbers are known; viz, EK107 (in the Brundit collection) and EK105 ( in the G0RDO collection).
The Telegraphkeys.com website identifies this key as probably being manufactured between 1913 and 1929. W.G. Pye & Co was originally a scientific instruments manufacturer. Out of that company was spun the famous Pye Radio Company, now part of Phillips Group.
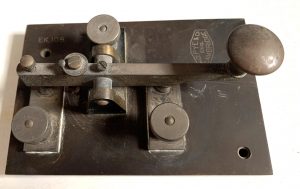
Whenever I do a key restoration, I take lots of pictures of how the key is put together, I then mark up a couple of prints and number the main parts, especially the fixings. I then mark up small plastic bags to put the relevant parts in as I disassemble it. There are many ways to clean brass. My preference is to use Brasso metal polish with a very fine wire wool. Once the oxidation tarnish is removed, I buff the item with a Dremel buffer tool. Bakelite can also be cleaned up with Brasso but instead of wire wool I use a soft cotton wool pad. I give all parts a final clean over with a microfibre cloth.
This particular key presented few difficulties when it came to taking it apart. The retaining hexagonal nuts on the underside were tight in on the recess preventing a box spanner being used.
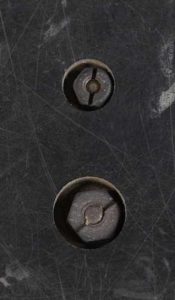
The nuts had a slot in them and fortunately I had a screwdriver bit known as a “snake bit” in my tool box which did the job.
Having stripped the key down, I cleaned up the base and key knob, which were both made of bakelite. Each of the various brass parts were cleaned and buffed. The tension spring looked rather rusty so I decided to find a replacement. Amazon came up trumps but I don’t think it has the same tension characteristic as the original although the same size. If I do sell this key I will include the original spring with the replacement so that the purchaser can fit it if they so wish.
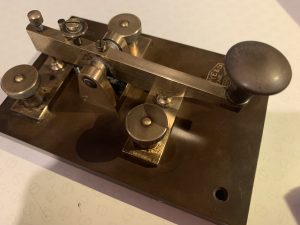
THE FINISHED AND BEAUTIFULLY RESTORED PYE EK106 STRAIGHT KEY
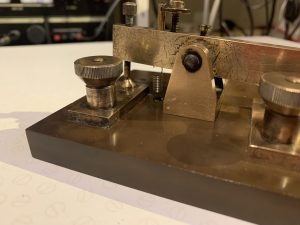
AN EYE FOR DETAIL IN THE PYE EK106
THE RESTORED KEY LOOKS RATHER NICE . I HAVEN’T USED IT IN ANGER YET BUT HOPE TO DO SO BEFORE SELLING IT ON.
CHEERS AND 73’S
CHRIS G0EY0

